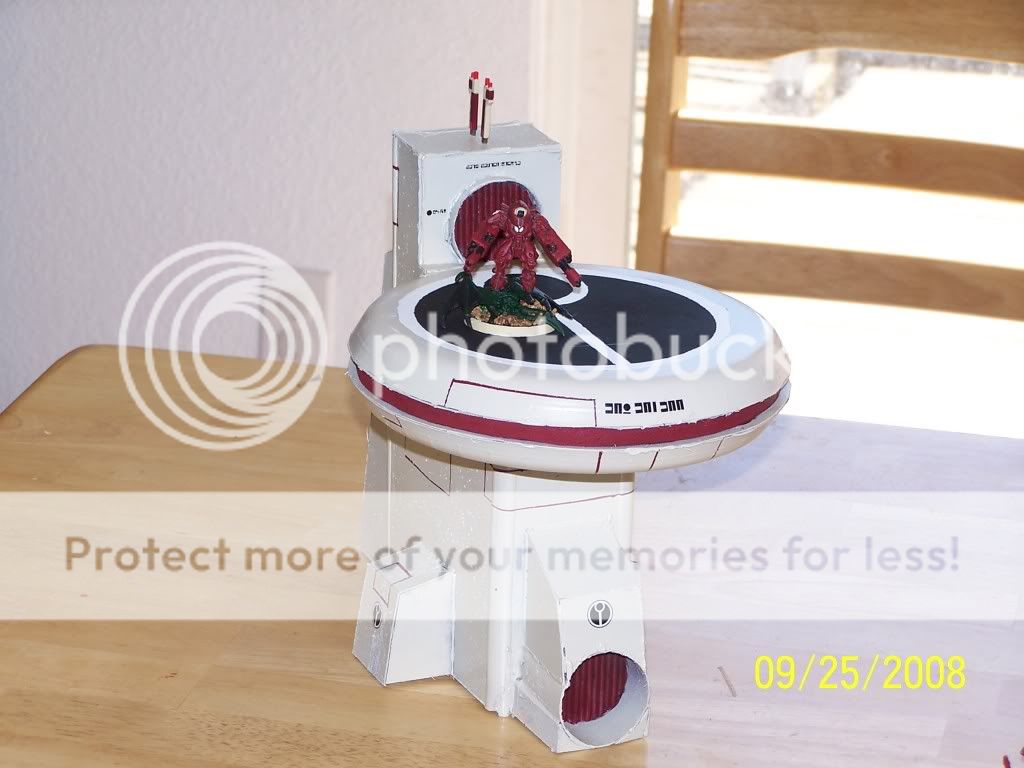
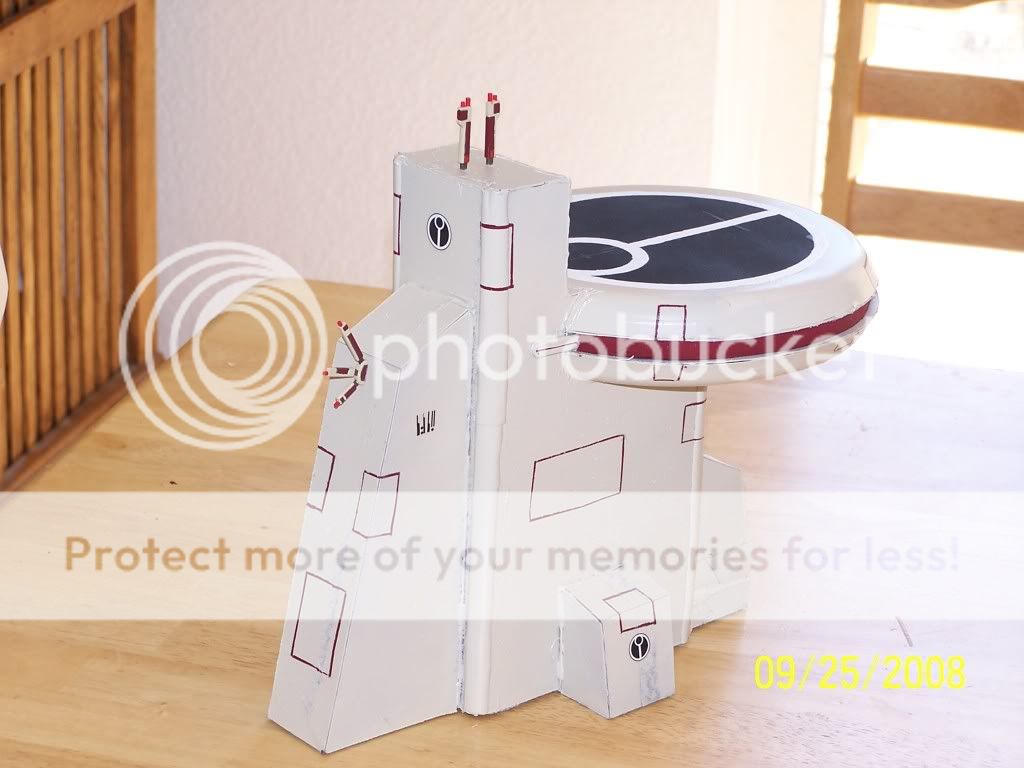
Here is my first Tau piece, and how I did it. Hope you like it, I do, and I learned a lot.
And here is how I did it.
First lets start as the with the saucer, which is made from these.

Take the rim off, right where the curve of the plate turn back out.

Next, we will make a couple covers to finish the outer saucers.
First, I am going to need some card stock. Good thing I'm an addict.

Cut a couple nice circles

Attach them to the plates, giving us the outer saucer pieces.

Next we will need some spacers to seperate them.

Glue them together.

Spackle them up. Sand them down.

A little glue, and, bam, 1 saucer.

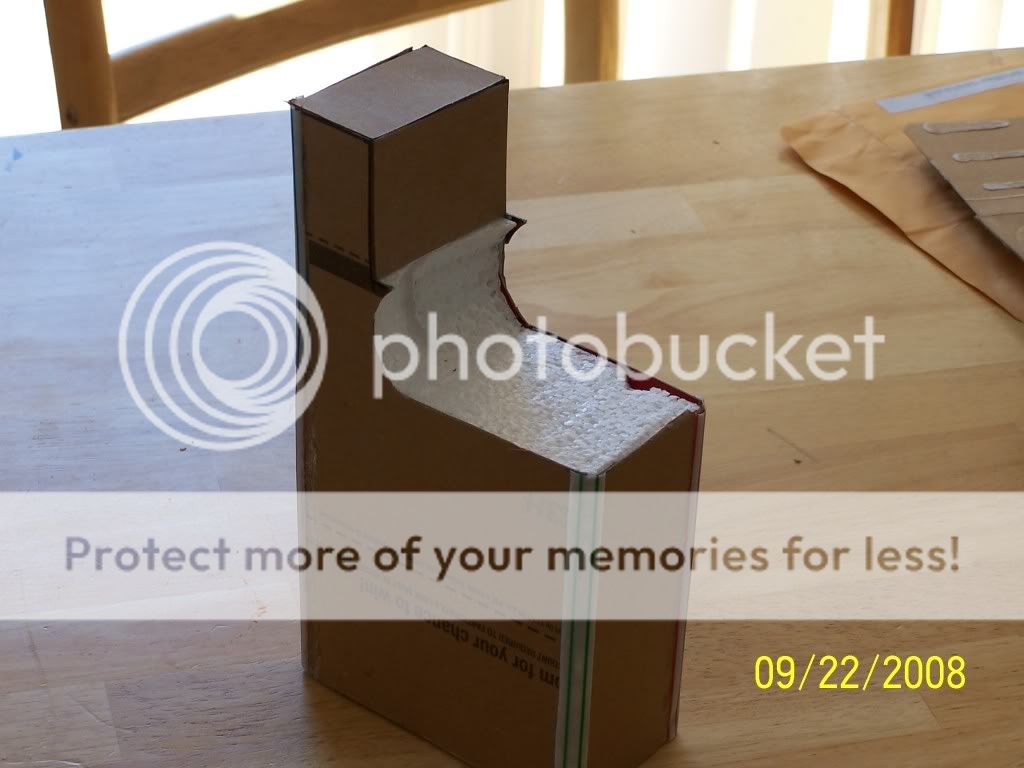
Now we are going to need a base.Using some more card stock, I made the outsides.

Now just put these on some packing foam for a core.

And cut

Next make sure that there is a curve out of the foam for the saucer to sit in, like so.

Now, go ahead and cover the foam that will be exposed with more card stock.

Don't worry to much about the corners, we are going to cut them away along the major vertical sides.

To give us room to cover them with these

Like so

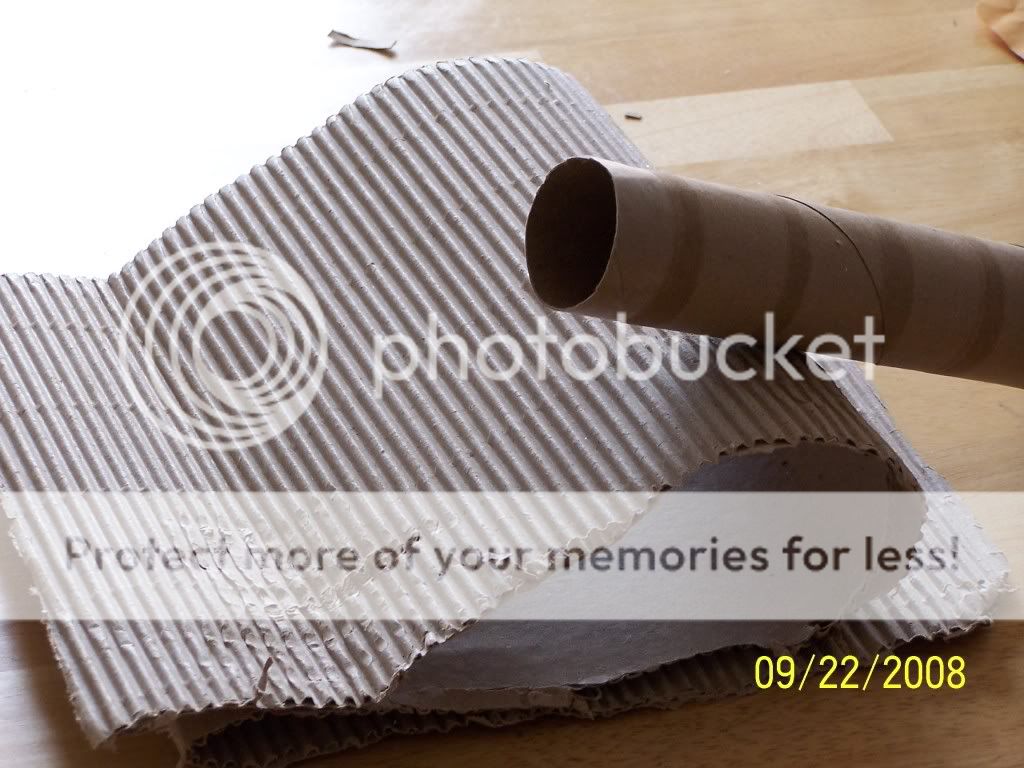
Now lets make some doors. Lets use a paper towel tube and card board corrugation stuff.

The lower door will be part of a small buttress.


I used that same method as I used for the base but with thinner foam to make some buttresses

I ate some of these.

To get some of these, so that I could cut a small section to use to cover the gap that was created by the saucer notch where it meets the base.

Lets put it all together.

And send it off to paint.
I started with a black base. Then I masked off a circle for the Tau symbol. The easiest way to do this is make a block of tape, and then use a compass to draw you circle. Then its just cut and paste.

Next I did the red coat. This time masking for the panels.

Add a couple bits for aerials.
And the final product.(again)


There are a couple things a may have done differently, but overall I really like the finished product.
A few changes I would have made if I was going to do this over:
I would have made the base wider, so that it went to about 3/4 of the saucer, instead of just 1/2.
I would have added something inside the saucer halves for support and to make glueing easier.
Instead of using masking tape to mark of the panel squares, I would have used say a ball point pin and pressed the lines into the card stock, using a straight edge to get them straight, then I would have painted them by hand.


 Next I did the red coat. This time masking for the panels.


 There are a couple things a may have done differently, but overall I really like the finished product.